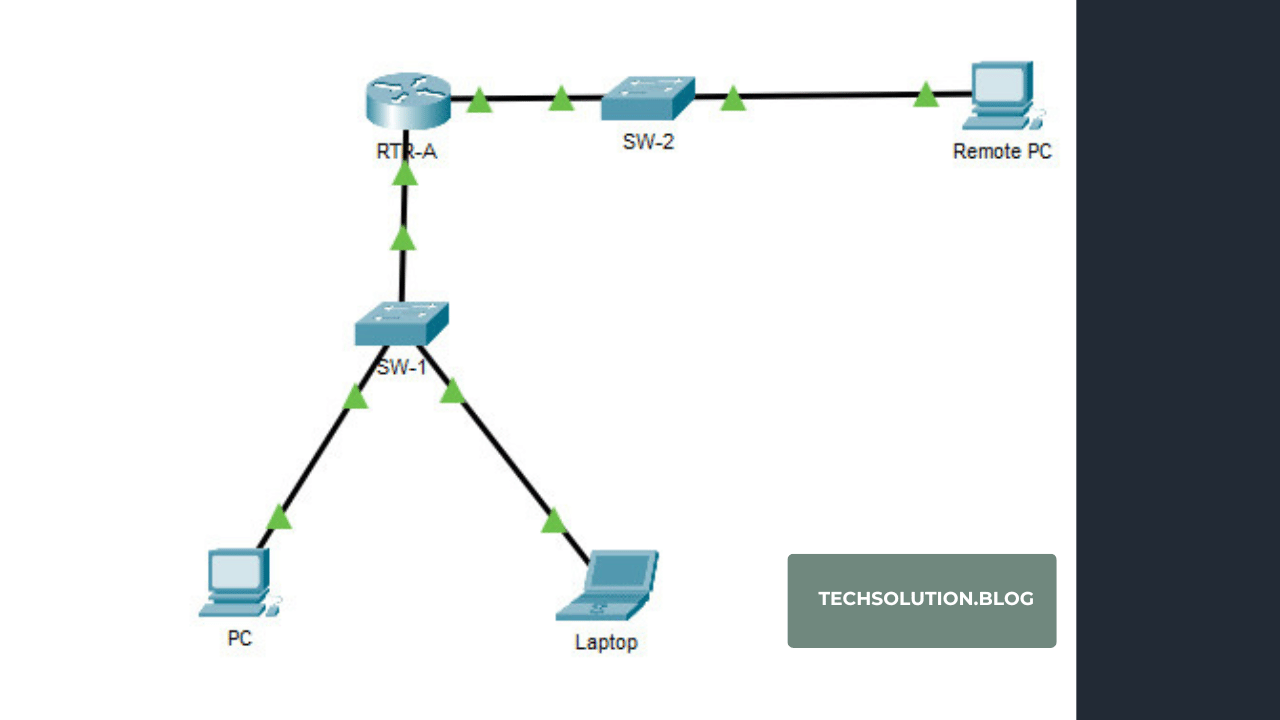
Networking is the backbone of our digital world, but mastering it can sometimes feel like untangling a web of endless cables. Here’s a surprising fact: according to a Cisco study, well-designed network diagrams can improve troubleshooting efficiency by up to 40%! If you’re diving into Packet Tracer, aligning your network devices is one of the simplest yet most impactful skills to sharpen.
Imagine this: your diagram is clean, devices are perfectly placed, and every connection is instantly understandable. That’s not just aesthetics—it’s functionality at its best. Misaligned devices lead to clutter, which can slow you down and frustrate teammates. But don’t worry, you’re about to learn how to turn chaos into clarity.
In this guide, I’ll show you step-by-step methods to align your devices like a pro. Whether you’re preparing for an exam or setting up a client presentation, these tips will transform how you use Packet Tracer.
Let’s dive in!
Why Device Alignment Matters in Packet Tracer
Aligned network devices make your simulations easier to read and interpret. It’s not just about looks; it’s about enhancing functionality. Misaligned devices can lead to overlapping connections, which might cause confusion or mistakes during troubleshooting. For students, a clear and aligned layout helps instructors easily assess your work. For professionals, it demonstrates meticulous attention to detail, which can be critical in client-facing environments.
Benefits of Proper Device Alignment:
- Enhanced readability: A neat layout simplifies visual scanning.
- Efficient troubleshooting: Errors and issues are easier to spot.
- Professional presentation: Well-structured diagrams leave a positive impression.
- Reduced mistakes: Proper alignment minimizes connection overlap and confusion.
Step-by-Step Guide to Align Devices in Packet Tracer

Here’s how to achieve a polished, professional look for your Packet Tracer projects.
Step 1: Start with a Clear Plan
Before diving in, map out your network on paper or digitally. Decide on the logical layout, such as a star, bus, or ring topology. Knowing the structure will make it easier to position devices correctly from the start.
Step 2: Use the Alignment Grid
Packet Tracer includes a built-in grid for alignment. Here’s how to enable it:
- Go to the Options menu.
- Select Preferences and enable the Grid option.
- Adjust the grid size to fit your layout preferences.
With the grid visible, drag and drop devices to align them neatly within the gridlines.
Step 3: Group Similar Devices
Organize devices by type. For example:
- Place all routers in one row.
- Arrange switches directly below routers.
- Position end devices (e.g., PCs, servers) in logical proximity to their connecting devices.
Grouping makes it easier to identify devices during troubleshooting and presentations.
Step 4: Align Devices Using the Auto-Align Feature
Packet Tracer provides an auto-align feature that simplifies the alignment process:
- Select multiple devices by clicking and dragging a selection box around them.
- Right-click on one of the selected devices.
- Choose Align Horizontal or Align Vertical from the context menu.
Step 5: Label Your Devices
Clear labeling is as important as alignment. Use descriptive names for each device:
- Example: Instead of “Router1,” use “CoreRouter” or “BranchRouter.”
- Add labels for subnet information, IP addresses, and VLAN IDs if applicable.
Step 6: Check Connection Lines
Ensure connection lines are straight and do not overlap unnecessarily. To adjust:
- Click on the connection line.
- Drag it to a new position that minimizes overlap.
- Use the grid to keep lines straight and evenly spaced.
Best Practices for Advanced Alignment
Use Color Coding
Color coding can add another layer of clarity to your diagrams. For example:
- Use one color for router connections.
- Assign another color for switch connections.
- Highlight critical connections in bold or a unique color.
Leverage Layers
Packet Tracer allows you to use layers to separate different parts of your network:
- Create layers for routers, switches, and end devices.
- Toggle layers on or off to focus on specific sections during troubleshooting or presentations.
Save and Revisit
Always save your progress and revisit the alignment after completing the configuration. Fresh eyes can help you spot misaligned devices or cluttered areas.
Common Mistakes to Avoid
Even with the best intentions, it’s easy to make alignment mistakes. Here are a few to watch out for:
- Overcrowding: Spread out devices to avoid visual clutter.
- Ignoring the grid: The grid is your best friend for precise alignment.
- Neglecting labels: Unlabeled devices can confuse even the most experienced network engineers.
Tools and Features That Simplify Alignment
Packet Tracer is equipped with features to make alignment easy:
- Zoom Tools: Use zoom in/out to align devices with precision.
- Snap to Grid: This feature ensures devices automatically align with the grid.
- Selection Tools: Select and move multiple devices at once to save time.
Aligning Devices for Specific Topologies
Different topologies require unique alignment strategies. Let’s explore a few:
Star Topology
- Place the central hub or switch at the center.
- Arrange end devices evenly around the hub.
- Use straight, evenly spaced connection lines.
Ring Topology
- Position devices in a circular arrangement.
- Ensure equal spacing between devices.
- Label each device with its role in the topology.
Mesh Topology
- Group devices by type.
- Use layers to separate logical connections.
- Simplify visual clutter by hiding unnecessary connections.
Why Alignment Enhances Team Collaboration
In collaborative projects, clear diagrams ensure everyone understands the network layout. Misalignment can lead to misinterpretation, causing delays and errors. By aligning devices and adding labels, you’re creating a shared language that improves teamwork and efficiency.
Conclusion
Aligning network devices in Packet Tracer isn’t just about aesthetics—it’s about creating clarity, reducing errors, and improving overall functionality. By following the steps and best practices outlined here, you’ll elevate your networking projects to a professional standard. Remember, a well-aligned network diagram is more than just a visual aid; it’s a powerful tool for learning, collaboration, and presentation. Ready to align your devices like a pro? Start now, and transform your Packet Tracer experience!


