The world of network management is brimming with tools that promise seamless connectivity. But let’s face it: nothing feels more satisfying than mastering the specifics of a process that’s both efficient and effective.
Did you know that identifying and adding a client to your Deco Network by MAC address isn’t just a quick task but a critical step in ensuring security and performance?
It’s like assigning a VIP pass to devices—streamlining access while keeping unwanted connections out. Whether you’re managing a home setup or a small business network, this method offers precision control.
In this guide, we’ll walk you through the exact steps to add a client using a MAC address. We’ll skip the fluff and dive straight into actionable tips, ensuring you’re armed with the knowledge to optimize your network.
Let’s get started and make your Deco Network smarter and safer!
What Is a MAC Address and Why It Matters
Every device that connects to a network has a unique identifier known as a MAC (Media Access Control) address. Think of it as the device’s fingerprint. Unlike IP addresses, which can change, MAC addresses are hardware-specific and remain constant. This makes them ideal for identifying devices within a network and managing their access.
When you add a client to your Deco Network using a MAC address, you’re enabling better network control and security. It’s particularly useful in scenarios where you need to:
- Restrict unauthorized devices.
- Prioritize specific devices for bandwidth.
- Monitor and manage traffic effectively.
Knowing how to leverage this feature can elevate your network management game significantly.
Preparing to Add a Client by MAC Address
Before diving into the steps, ensure you have the following ready:
- Deco Network Setup: Ensure your Deco Network system is installed and running.
- MAC Address of the Device: Locate the MAC address of the client device. This can usually be found in the device’s network settings or on its hardware label.
- Deco App Access: Download and log into the Deco app on your smartphone or tablet.
Having these essentials at hand will make the process smoother.
Step-by-Step Guide to Adding a Client by MAC Address

Step 1: Open the Deco App
Launch the Deco app on your device. Ensure you’re logged in with the account linked to your Deco Network.
Step 2: Navigate to the Device Management Section
From the main dashboard, locate the “More” or “Settings” menu, depending on your app version. Select “Device Management” or a similar option that allows you to view connected devices.
Step 3: Add a New Device
Look for an option like “Add Device” or “Add Client.” Tap on it to proceed.
Step 4: Input the MAC Address
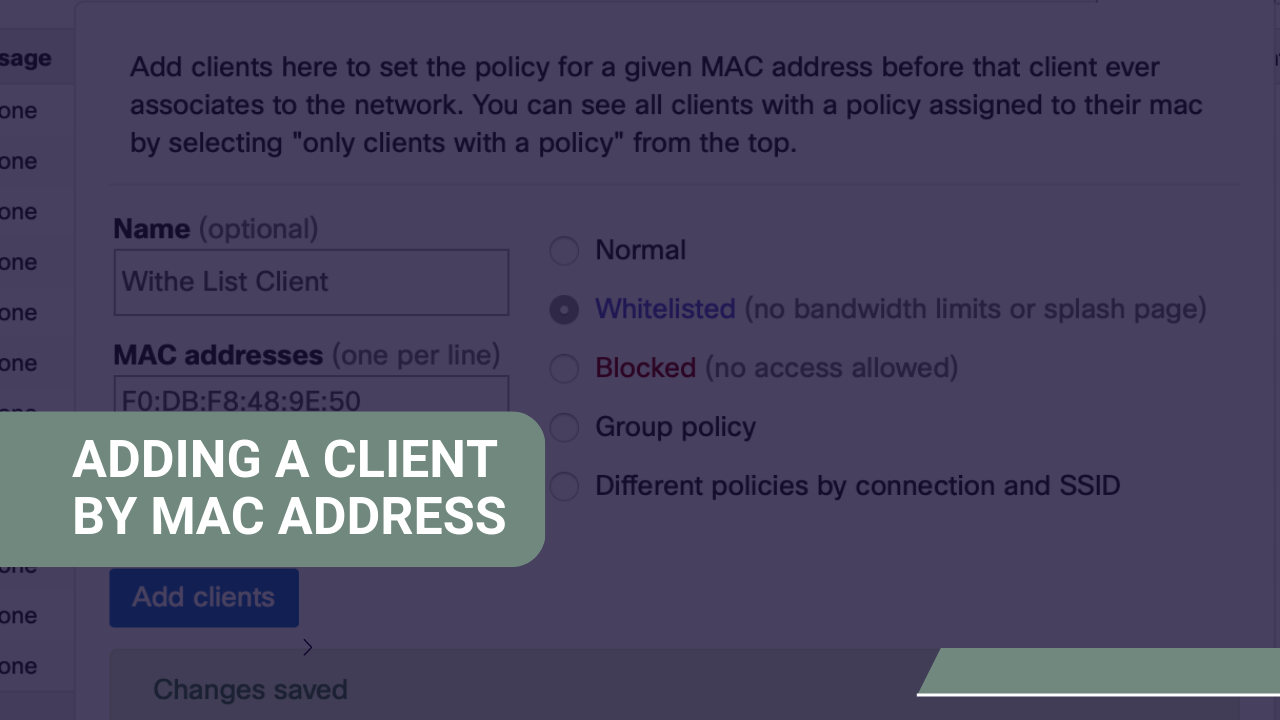
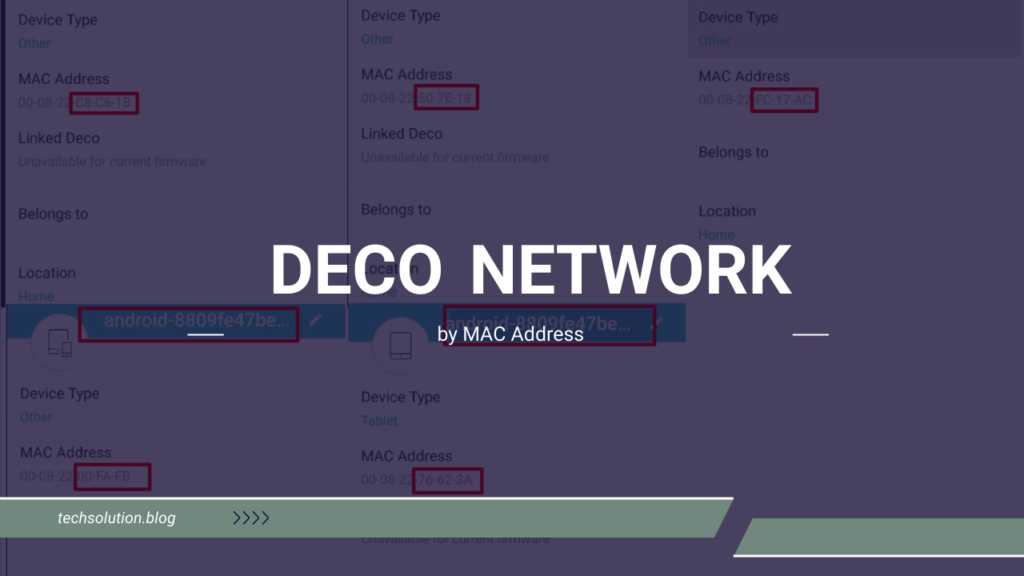
You’ll be prompted to enter the MAC address of the client device. Carefully type in the address without any errors. Most MAC addresses follow a format like this: 00:1A:2B:3C:4D:5E.
Step 5: Assign a Name and Group
Once the MAC address is added, you can assign a name to the device for easy identification. You can also group it under specific categories, such as “Work Devices” or “IoT Devices.”
Step 6: Save and Confirm
Click “Save” or “Confirm” to complete the process. The device will now be recognized by the network.
Advanced Tips for Optimizing Your Deco Network
Enable Parental Controls
The Deco app allows you to set restrictions on certain devices. For example, you can limit internet usage for kids’ devices by time or content type.
Set Bandwidth Prioritization
Using the Quality of Service (QoS) feature, prioritize bandwidth for critical devices, such as work laptops or gaming consoles. This ensures they receive uninterrupted connectivity even during peak usage times.
Monitor Network Activity
Regularly review the “Connected Devices” list in your Deco app. Remove any unfamiliar devices to maintain security.
Troubleshooting Common Issues
Even with straightforward steps, you may encounter a few hiccups. Here’s how to address them:
MAC Address Not Recognized
Ensure that the MAC address is entered correctly. Double-check for typos, as even a single incorrect digit can cause an error.
Device Not Connecting
Restart the client device and the Deco unit. Sometimes, a simple reboot resolves connectivity issues.
Limited Access
Verify that the device is not restricted by parental controls or other network rules. Adjust the settings as necessary.
The Benefits of MAC Address Filtering
Adding a client to your Deco Network by MAC address is more than just a technical exercise. It offers tangible benefits that enhance both usability and security:
- Enhanced Security: Block unauthorized devices from accessing your network.
- Streamlined Management: Easily identify and organize devices within your network.
- Custom Rules: Apply specific policies to individual devices, such as bandwidth allocation or content restrictions.
These features are particularly valuable in environments with multiple users or IoT devices, where maintaining control is essential.
Frequently Asked Questions
Can I Add Multiple Devices at Once?
Yes, you can add multiple devices by entering their respective MAC addresses. However, each must be added individually within the app.
What Happens if I Enter the Wrong MAC Address?
The device will not connect to the network. Simply delete the incorrect entry and re-enter the correct address.
Is MAC Address Filtering Foolproof?
While it adds a strong layer of security, it’s not entirely foolproof. For maximum protection, combine it with other security measures, such as WPA3 encryption and regular password updates.
Can I Use This Method for Guest Networks?
Yes, MAC address filtering can be applied to guest networks as well, providing an extra layer of control over who can connect.
Conclusion
Managing your Deco Network with precision doesn’t have to be complex. By leveraging the power of MAC address filtering, you can create a secure, organized, and efficient network environment. Whether you’re prioritizing work devices, managing family access, or securing your IoT setup, these steps will ensure you stay in control. Now that you know how to add a client to your Deco Network by MAC address, it’s time to put this knowledge into action. Optimize your network today and experience the difference!


