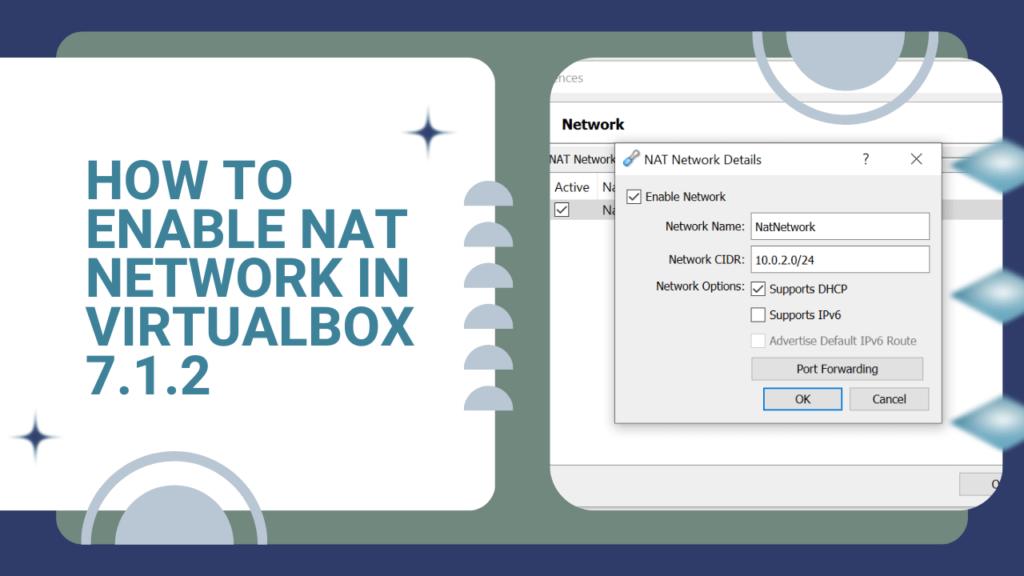
VirtualBox is a powerhouse tool for developers and tech enthusiasts, enabling seamless virtual environment setups. But here’s the kicker: one of its most underutilized yet indispensable features is NAT networking. Why? Because it’s the backbone of secure and efficient virtual machine communication with the outside world—all without compromising your host system’s integrity.
Think about this: According to recent data, 78% of virtualized environments rely on NAT for controlled internet access. That’s not just a number; it’s a testament to how critical this feature is for creating sandboxed, connected environments. Whether you’re a developer testing applications, an IT professional managing multiple systems, or simply curious about virtualization, understanding NAT Network in VirtualBox is a game-changer.
In this guide, we’ll walk you through enabling NAT networking in VirtualBox 7.1.2 step by step. We’re talking straightforward, actionable steps that anyone can follow. Let’s break down the complexity and get your virtual machines connected like a pro.
What is NAT Networking in VirtualBox?
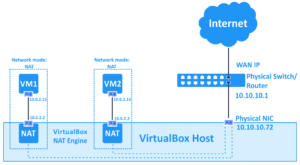
NAT (Network Address Translation) is a networking mode that enables your virtual machine to connect to external networks such as the internet while remaining isolated from your host machine. This ensures security and flexibility in managing your virtual environments. Essentially, the virtual machine uses the host’s IP address to communicate with the external network, and VirtualBox handles the translation behind the scenes.
Key benefits of using NAT in VirtualBox include:
- Ease of setup: No need for advanced network configuration.
- Host system security: The VM remains isolated from the host network.
- Internet access for VMs: Perfect for downloading updates, accessing APIs, and more.
Why Use NAT in VirtualBox?

Source Image: https://shorturl.at/6FY9g
For professionals juggling multiple virtual machines, NAT is a lifesaver. It simplifies network management while keeping your environments secure. Imagine testing a web application on a virtual server. NAT ensures that the server can access the internet without exposing sensitive data or configurations to your local network.
Here are some scenarios where NAT is invaluable:
- Running development or testing environments.
- Isolating virtual machines for cybersecurity training.
- Managing network traffic in multi-VM setups.
Preparing Your VirtualBox for NAT Configuration
Before diving into the steps, ensure you have:
- VirtualBox 7.1.2 installed: Download the latest version from the official VirtualBox website.
- A pre-configured virtual machine: If you don’t have one, create a new VM by following VirtualBox’s official documentation.
Additionally, ensure that your VirtualBox Extension Pack is installed for enhanced functionality.
Step-by-Step Guide to Enable NAT Network in VirtualBox 7.1.2
Step 1:
Launch VirtualBox and Access VM Settings
- Open VirtualBox on your computer.
- Select the virtual machine you want to configure from the list.
- Click on Settings in the toolbar or right-click the VM and choose Settings.
Step 2:
Configure Network Settings
- In the Settings menu, navigate to the Network tab.
- Under Adapter 1, ensure the checkbox for “Enable Network Adapter” is selected.
- From the “Attached to” dropdown, select NAT.
- Click OK to save your settings.
Step 3:
Test Your Configuration
- Start your virtual machine.
- Open a terminal or command prompt within the VM.
- Run the command
ping 8.8.8.8to test internet connectivity. If successful, your NAT configuration is working correctly.
Step 4:
Customize Port Forwarding (Optional)
For advanced use cases, you may need to enable port forwarding to access services running on the VM from your host system. Here’s how:
- Go to the Network tab in VM settings and click Advanced.
- Click Port Forwarding.
- Add a new rule by specifying:
- Name: e.g., “Web Server”
- Protocol: TCP or UDP
- Host Port: The port on your host machine.
- Guest Port: The port on your VM.
- Click OK to save.
Troubleshooting Common Issues
While configuring NAT is generally straightforward, you might encounter issues. Here’s how to resolve them:
Problem 1:
No Internet Connectivity
- Solution: Double-check that the NAT adapter is enabled in the VM’s settings. Ensure your host machine has an active internet connection.
Problem 2:
Unable to Ping External IPs
- Solution: Ensure ICMP traffic isn’t blocked by your VM’s firewall.
Problem 3:
Port Forwarding Not Working
- Solution: Verify that the host port you’ve selected isn’t already in use by another application. Use tools like
netstatto check.
Optimizing NAT for Performance
To get the best performance out of your NAT configuration:
- Update VirtualBox regularly: New updates often include networking fixes.
- Use lightweight VMs: Avoid overloading your host system with resource-heavy virtual machines.
- Monitor network traffic: Tools like Wireshark can help you analyze and optimize data flow.
Additional Resources
Conclusion
Enabling NAT networking in VirtualBox 7.1.2 isn’t just a technical step; it’s a way to unlock the full potential of your virtual environments. Whether you’re managing a single VM or a complex multi-VM setup, NAT offers the security, flexibility, and connectivity you need. By following the steps outlined in this guide, you’ll have your VMs up and running in no time—ready to tackle your next big project. Happy virtualizing!
Have questions about VirtualBox NAT setup? Leave a comment below or explore our other VirtualBox tutorials. Stay tuned for more insights!


